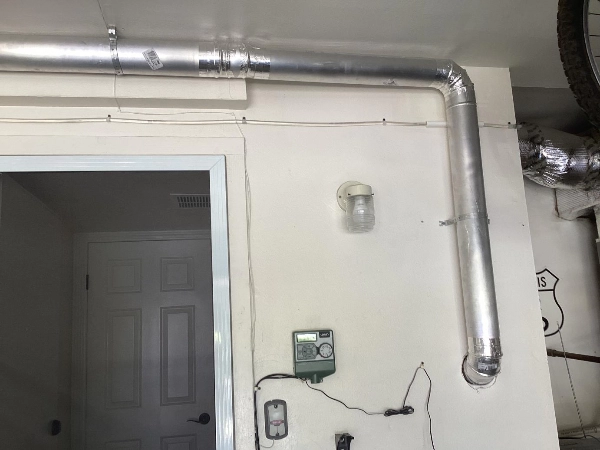
The customer wanted to replace his underground dryer vent as the old termination point was an eyesore where it popped up through the concrete walkway. After reviewing options in terms of which direction to go (shorter the better), together we determined that near the man door (yet 3 feet from any opening; door, window, other ventilation openings per building code) would be best. I moved the dryer and cut the first hole in the drywall from the laundry into the garage. I began building the vent using 5ft sections of smooth wall aluminum pipe and into the first of a few adjustable radius’ and further along the length into the corner. Two radius’ and some shorter sections later, the vent was near the exit door. Next I had to place a new hole in the drywall, and through the stucco from the outside. I start with a pilot hole that marks my center and is used to align the hole saw on both sides. When drilling through stucco, use a sharp masonry hole saw on a hammer drill. Not using a hammer drill will create excess heat and ruin the hole saw or drill bit. A pilot hole also gives some limited visibility to see what’s inside the wall before cutting the 4” hole. Once through both sides, the last radius is attached and a short piece of pipe installed through the wall with enough length to attach to the new vent cover. Next I attach the cover. I then secure the rigid pipe every 4 ft or less, per building code, and tape all joints with UL approved dryer vent aluminum tape. Duct tape and other non-UL approved tapes simply won’t seal properly or won’t last. A little silicon sealant around the vent cover and this job is complete.